"meadow of gold" 12"x16" pastel on Uart 500 $125
Third in my series of autumn weed paintings. I thought I would talk about my process for my paintings. First - I have to be connected and excited about the subject matter - Right now I'm in love with the yellows of the goldenrod flower! I usually take several photos of the same area and then chose one or two for reference.

I print off a black and white version because it really helps me to see the values and not focus on the local color. From this I do a thumbnail drawing using no more than four values and make notes about the light quality and things I remember from being there. Next is the hard part for me!!! I have so much to learn about using color - I pick out the pastel sticks I will use for the painting. Starting with the dark values , then the lights values (usually the sky) and then I fill in with the middle values as I begin to work on the painting. Last come the accent and spice colors. The scene is predominately green, so I pull out my boxes of Terry Ludwig greens (you can see which ones I use) and then pull the other colors from my working box. I keep my pallet to no more than 15-20 sticks.

Terry Luwig greens(warm and cool)

darks, lights , some mid values and spice
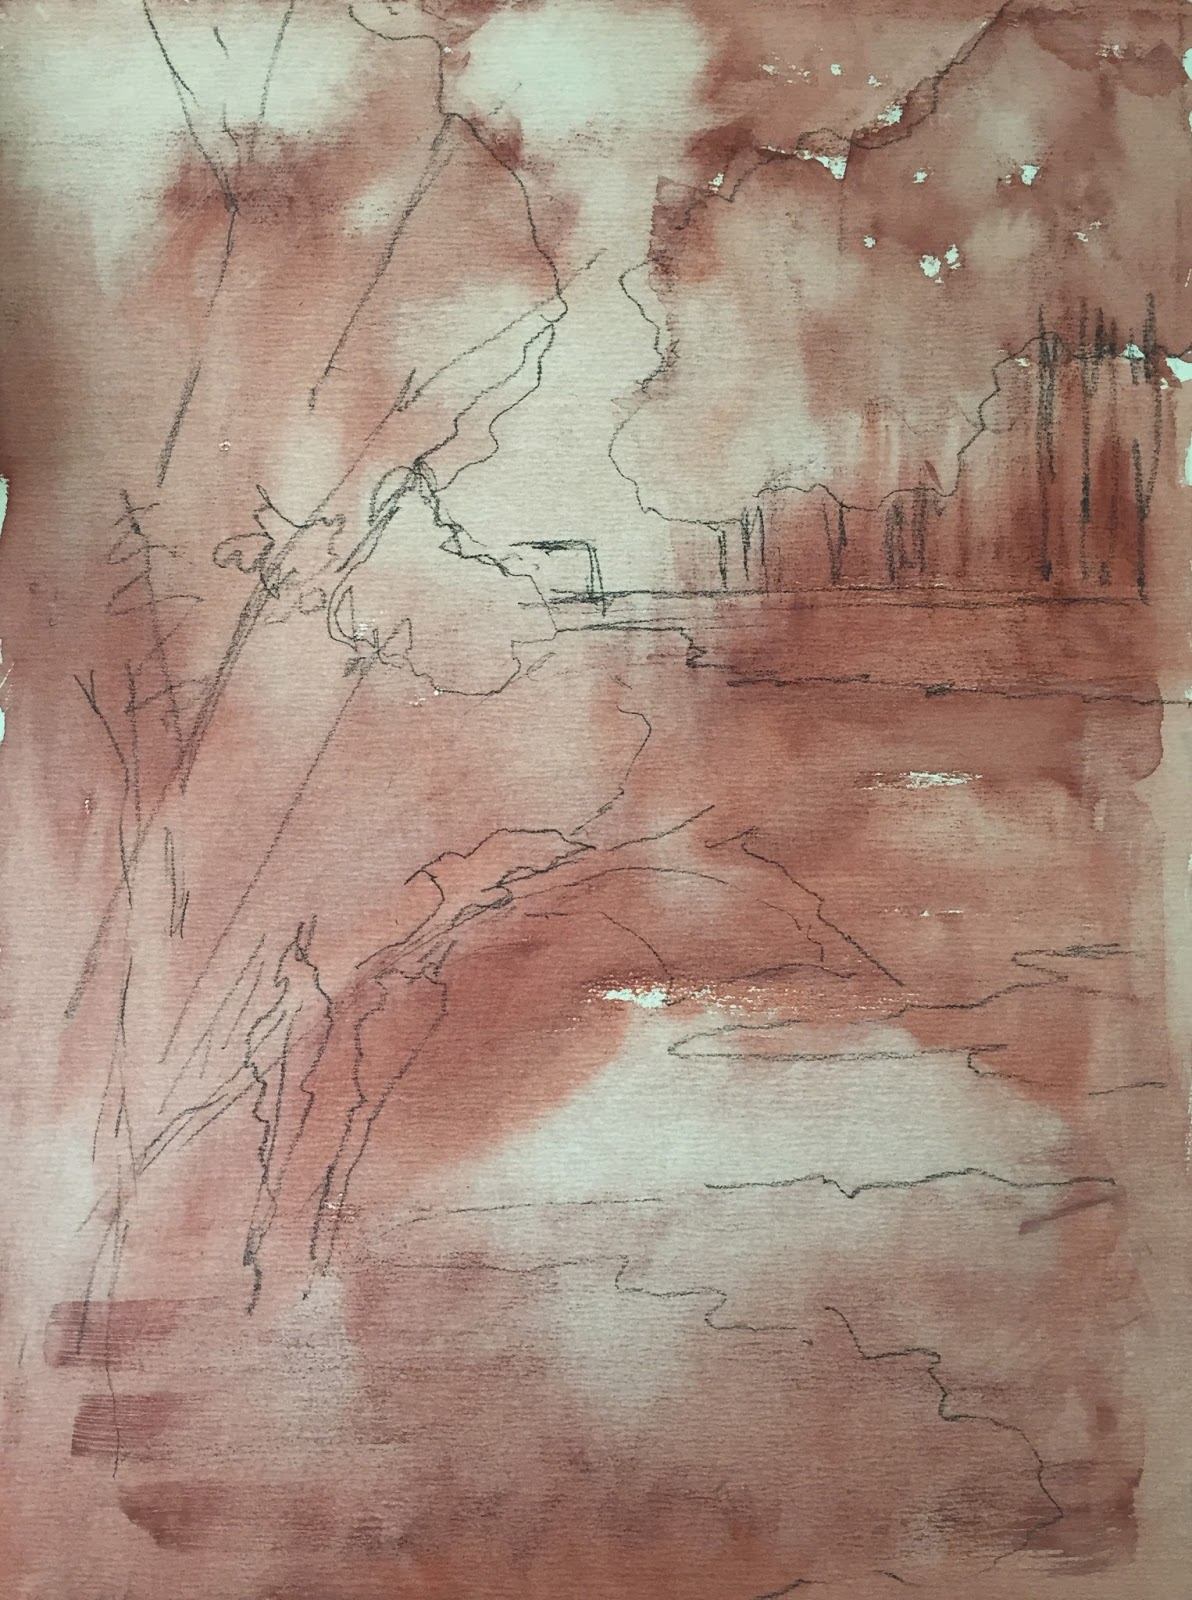
I'm loving the ArtGraff water soluble chalks for underpainting. I do a simple drawing of the basic shapes from my thumbnail and rub the chalk on the darkest value areas in the painting. From there I take a paint brush with water to blend it. Remember you don't need very much!

underpainting with ArtGraff
Next comes the pastel! I start by lightly layering in my darkest values, next lights and finally the middle values. From here I continue layering to build the shapes. Sometimes I use a workable fixative spray so the layers don't blend too much. The whole time I work on the painting , I step back and evaluate. Finally come the accents or "spices" as Karen Margulis calls them!
I took my time with this painting, spending 2 days on it. I'm still trying to absorb and apply all that I learned on my recent 3 day workshop with Karen Margulis and Marsha Savage. The more I paint, the more I grow!
If you would like to follow along with my art and art related topics, please click "like" on my art page on FB - Bonnie Morgan Hyde fine art.